
Hip and groin pain in endurance athletes requires targeted strengthening, accurate movement assessment, and structured load management to maintain long-term durability.





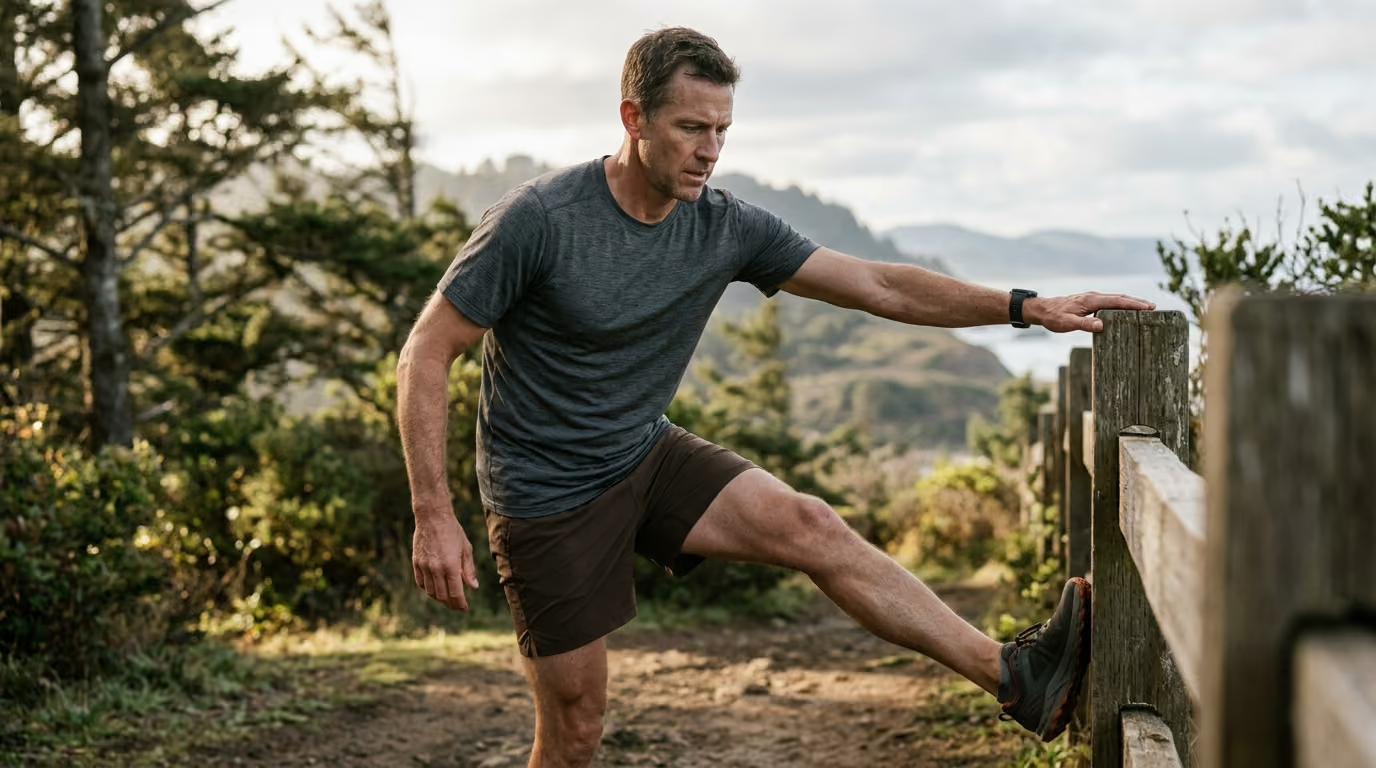
You are six weeks out from your target marathon or middle-distance triathlon. During a Tuesday interval session, you feel a deep, pinching ache high in your inner thigh. By Thursday, that dull ache shifts toward your lower abdomen and pubic bone whenever you push off at speed. On the weekend long bike ride, tucking into an aerodynamic position produces a sharp catch at the front of your hip crease. Your initial reaction is probably familiar. You drop to the floor to aggressively stretch your hip flexors, roll your adductors on a foam roller, and take three days off. Yet the moment you resume running or pedal up a steep gradient, the discomfort returns immediately.
Hip and groin discomfort is one of the most frustrating challenges in endurance sport. It rarely responds to simple rest or generic stretching routines. The region is complex, housing converging muscle groups, high-load tendons, joint capsules, and neural structures. Understanding how to assess this area, build specific tissue capacity, and manage mechanical load is essential for staying healthy over decades of training. You can consult our broader collection of injury prevention resources for fundamental concepts that support long-term durability.
Groin pain is an anatomical location rather than a medical diagnosis. The human pelvis serves as the central clearinghouse for forces moving between the upper body and the ground. Every stride in running generates ground reaction forces between two and three times your body weight. Cycling requires thousands of repetitive revolutions while holding the hip in significant flexion. When physical demand exceeds tissue capacity, irritation develops across specific anatomical structures.
To eliminate confusing terminology, sports medicine specialists established the Doha agreement. This international consensus classifies athletic groin pain into four primary clinical entities based on palpation, resistance testing, and symptom reproduction.
The first entity is adductor-related groin pain. This condition presents as tenderness along the adductor longus or brevis muscles and their insertion on the pubic bone. Pain typically worsens with resisted hip adduction or when squeezing the knees together against resistance.
The second entity is iliopsoas-related groin pain. Athletes experience discomfort in the anterior hip crease that intensifies during resisted hip flexion or when stretching the hip into extension. It frequently troubles cyclists holding aggressive positions and runners doing uphill repeats.
The third entity is inguinal-related groin pain. This pain is localized to the inguinal canal region without a palpable hernia. It often worsens during abdominal loading, coughing, sneezing, or sudden changes in direction.
The fourth entity is pubic-related groin pain. This involves localized tenderness directly over the pubic symphysis and adjacent bone. It requires careful management because it can easily escalate into a bone stress injury if mismanaged.
Beyond these four muscular and tendinous entities, athletes frequently experience hip-related groin pain. This category includes intra-articular problems such as femoroacetabular impingement syndrome, acetabular labral tears, and early osteoarthritis. Intra-articular issues typically present as deep, anterior groin pain aggravated by deep hip flexion, internal rotation, or prolonged sitting.
Finally, clinicians must consider non-musculoskeletal causes. Groin symptoms can refer from the lumbar spine, sacroiliac joints, or pelvic organs. Gynecological conditions, urological disorders, and abdominal wall herniations can all mimic athletic groin pain. A thorough evaluation must rule out these issues before committing to a rehab program.
Most groin injury research originates in soccer, rugby, and Australian rules football. A 2026 systematic review of hip and groin injuries in sport identified an incidence of 0.71 injuries per 1,000 exposure hours, representing 11% of all athletic injuries. However, 85% of the included studies examined football players. Male football players showed an injury incidence 1.8 times higher than female players in that pooled sporting literature.
Endurance athletes experience a different mechanical environment. In adult runners, hip and groin injuries represent approximately 10.1% of all reported injuries, affecting 11.0% of female runners and 6.3% of male runners. Ultra-endurance runners experience lower overall hip injury rates, accounting for roughly 3.8% of medical encounters during multiday events. However, these issues are almost exclusively overuse-related conditions like adductor tendinopathy, psoas bursitis, and trochanteric issues.
Endurance athletes do not typically injure their groin through explosive lateral cutting. Instead, they develop issues through repetitive, lower-velocity loading across hundreds of thousands of cycles. Cyclists face prolonged hip flexion under sustained muscular tension. Runners face cyclical eccentric loading at terminal stance and high force production during propulsion. Translating soccer research directly to endurance athletes without adapting for repetitive volume is a common clinical error.
A reliable assessment begins with an exhaustive training history. Most hip and groin problems develop after identifiable shifts in training parameters across the preceding two to six weeks. You must look beyond simple weekly mileage numbers.
Evaluate whether you added hill repeats, track intervals, or high-velocity strides. For cycling, determine if you altered your saddle height, moved to shorter cranks, or increased time in an aerodynamic position. Note whether pain appears during training, immediately afterward, or the following morning. Check our training and performance planning guides to structure these changes without overloading vulnerable tissues.
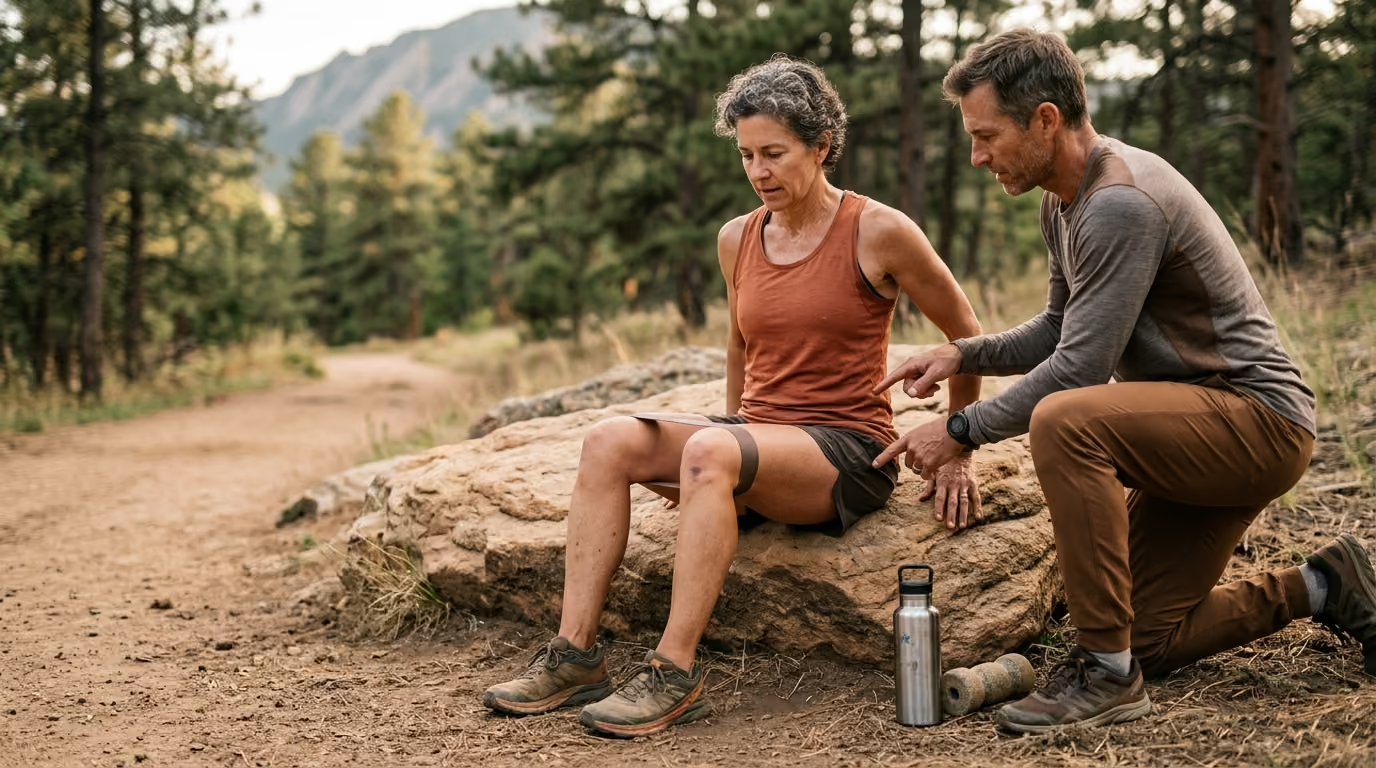
A physical self-check should assess range of motion, isometric strength, and functional control. Do not simply measure how far a joint moves passively. You must evaluate range tolerance, which is your ability to handle mechanical load at the end of your available motion.
Begin by assessing hip extension, flexion, internal rotation, and external rotation while lying down. Compare both sides. A slight asymmetry in internal rotation is common and does not automatically signal pathology. However, an asymmetrical limitation that recreates your specific groin pain warrants careful attention.
Next, assess muscle capacity through targeted isometric holds:
Compare side-to-side strength and record whether any contraction reproduces familiar pain. An endurance athlete should display solid peak strength and the capacity to hold repeated 10-second efforts without shaking or discomfort.
Move from isolated tests to weight-bearing functional assessments. Perform a single-leg squat, a slow forward step-down from a low step, and a split squat. Observe your pelvic alignment in a mirror.
Watch for Trendelenburg sign, where the pelvis drops on the unsupported side during single-leg stance. Look for excessive forward trunk lean, knee collapse, or pelvic rotation. These movement patterns do not automatically cause injury, but they reveal how your body distributes forces under load.
Research shows that isolated hip-abductor weakness is not a universal predictor of all running injuries. Biomechanical associations are often injury-specific and variable across different populations. The primary question is whether you can maintain smooth control throughout your movement at the speed and fatigue levels required by your sport.
Certain clinical signs require immediate evaluation by a physician or sports physical therapist. Do not attempt self-management if you experience any of the following symptoms:
A runner with deep groin pain that worsens under impact should be evaluated for a femoral neck or pubic bone stress injury. Treating a bone stress injury as an adductor strain can lead to serious joint complications. Diagnostic imaging should answer a specific clinical question rather than replace careful physical examination.
Tendons and muscles adapt to progressive mechanical load. When managing adductor, iliopsoas, or gluteal tendinopathies, complete rest is often counterproductive. Complete rest decreases tendon stiffness, reduces muscle volume, and lowers overall load tolerance. When you resume full training, the weakened tissue is even less prepared for the demands of the sport.
A successful strengthening program manipulates contraction type, intensity, volume, speed, and recovery. Early phases rely on isometric contractions and heavy slow resistance. As tissue capacity improves, athletes progress to reactive exercises, dynamic multi-planar tasks, and sport-specific loading.
The adductor group plays a vital role in pelvic stabilization, hip flexion, and hip extension. A landmark cluster-randomized trial in sports medicine demonstrated that a simple progressive adductor program reduced the risk of groin problems by 41%. While this study was conducted in male team-sport athletes, building adductor capacity remains a cornerstone of groin durability for endurance athletes.
Progress your adductor training through these clear stages:
Begin with short-lever supine ball squeezes. Lie on your back with knees bent at 45 degrees, place a soccer ball between your knees, and squeeze at 70% effort. Perform 5 sets of 30-second holds with 60 seconds of rest.
Once tolerated, progress to long-lever squeezes with legs extended and the ball between your ankles.
Transition to side-lying adductor raises. Lie on your injured side with your top leg bent and foot placed flat behind your bottom knee. Slowly elevate your straight bottom leg toward the ceiling, holding for two seconds at the top before lowering over three seconds. Perform 3 sets of 10 to 12 repetitions per side.
Add cable or resistance band adductions in a standing position to load the adductors through a larger functional range.
Introduce the Copenhagen adduction plank. Lie on your side and place your top ankle on a bench or chair, supporting your upper body on your forearm. Lift your hips into a side plank while keeping your bottom leg hovering just below the bench.
Start with short-lever variations, placing the bench support under your knee. Progress to long-lever variations with support under the ankle as your strength improves. Aim for 3 sets of 6 to 8 controlled repetitions with a three-second lowering phase.
The iliopsoas experiences heavy demands during running knee drive and cycling pedal recovery. Athletes often stretch this muscle when it feels tight, which can irritate an already sensitive tendon. A better approach is to strengthen the muscle across its working range.
Begin with seated isometric hip flexion holds against hand resistance at 90 degrees of hip flexion. Progress to standing cable hip flexions, driving the knee upward against progressive resistance. You can also perform supine psoas marches with a light resistance band looped around your forefeet. Focus on slow, controlled tempos, performing 3 sets of 8 to 10 repetitions with a distinct pause at peak flexion.
The gluteus medius and minimus help control frontal-plane pelvic stability during single-leg stance. When running, adequate abductor capacity prevents excessive contralateral pelvic drop, reducing compensatory strain across the pubic symphysis and adductor attachments.
Effective abductor exercises include side-lying hip abductions, standing lateral cable raises, and heavy banded lateral monster walks. Integrate single-leg split squats, Bulgarian split squats, and step-downs to build functional single-leg control. For step-downs, stand on a 6-inch box and slowly lower your opposite heel toward the floor over three seconds. Keep your pelvis level without allowing your knee to collapse inward. Perform 3 sets of 8 repetitions per leg.
The adductors, rectus abdominis, obliques, and pelvic floor work together to transfer forces through the pubic symphysis. Passive treatments alone are rarely sufficient for resolving long-standing groin pain.
A randomized clinical trial by Holmich and colleagues compared active pelvic training with passive physical therapy for chronic groin pain. In that study, 23 athletes in the active group returned to sport pain-free, compared to only four athletes receiving passive therapy.
Incorporate dynamic trunk exercises that challenge anti-extension and anti-rotation:
The goal is not to brace your pelvis rigidly like concrete. Endurance athletes need adaptable, dynamic stability to transfer rotational forces smoothly while running and pedaling. Combining these exercises with our targeted recovery and mobility strategies can help maintain tissue elasticity as training volume increases.
Running-related hip and groin injuries rarely occur due to a single mechanical flaw. They are usually driven by sudden spikes in training volume, high running intensities, or rapid changes in terrain.
A systematic review examining endurance sports identified high total training volumes and low overall training frequencies as factors associated with increased injury rates. Previous injury and ages over 45 were also identified as baseline characteristics linked to higher injury rates.
Importantly, the literature does not validate the traditional 10% weekly volume rule as a universal safeguard against injury. Applying a flat 10% increase across all athletes ignores individual tissue capacity, recovery history, and the mechanical intensity of specific workouts.
Running speed substantially increases the mechanical demands placed on the hip musculature. As your pace quickens, your stride lengthens and ground contact times drop. The adductors and hip flexors must generate and absorb high forces in fractions of a second. A runner who comfortably logs 40 miles per week at an easy pace can easily overload their adductor tendon by adding track intervals without preparation.
Topography introduces similar tissue-specific stresses:
When planning your training, change only one training variable at a time. If you increase your weekly mileage, keep your running pace easy and stick to flat terrain. If you introduce track intervals, reduce your overall weekly mileage to keep total tissue stress within manageable limits.
Overstriding occurs when your foot lands too far ahead of your center of mass. This position creates a high braking impulse and increases mechanical stress through the hip joint and pelvis.
If you struggle with recurrent hip or groin irritation, assess your step rate. Increasing your running cadence by 5% to 7% at the same running speed naturally shortens your stride length. This small adjustment brings your foot strike closer to your center of mass, reducing hip extension demands at push-off and lowering joint loads.
Avoid forcing yourself into an arbitrary cadence target like 180 steps per minute. Use a metronome or watch sensor to test small, gradual adjustments over four to six weeks, assessing your symptoms and running economy along the way.
Cycling is generally considered low-impact, but the repetitive nature of pedaling can provoke anterior hip and groin symptoms. An athlete spinning at 90 revolutions per minute completes 5,400 pedal strokes every hour. If your bike fit forces your hip into excessive flexion, that repetitive motion can lead to localized tendon or joint irritation.
A clinical review on bike fitting for cyclists with hip pain emphasizes that hip flexion at the top of the pedal stroke should not exceed roughly 80% of the rider's anatomical limit. If your bike geometry pushes your hip beyond this threshold, your body will compensate by rocking the pelvis, flexing the lumbar spine, or flaring the knee outward. Over time, these compensations can irritate the iliopsoas, adductor origins, or hip labrum.
If you experience anterior hip pinching or adductor strain on the bike, evaluate these four mechanical variables:
Traditional bikes often come equipped with 172.5mm or 175mm cranks. Switching to shorter cranks, such as 165mm or 160mm, reduces the diameter of your pedaling circle. This simple change lowers your knee at the top of the pedal stroke, opening your hip angle and reducing peak hip flexion without altering your saddle height relative to the bottom bracket.
An aggressive, low handlebar position increases aerodynamic efficiency but significantly reduces your hip angle. Raising your stem by adding headset spacers or using a shorter stem opens the torso-to-thigh angle, reducing mechanical stress on the anterior hip.
A saddle set too low increases hip flexion demands at the top of the pedal stroke. A saddle set too high causes pelvic rocking, which can irritate the adductor longus origin on the pubic ramus. A standard starting point is adjusting saddle height to achieve roughly 30 degrees of knee flexion at the bottom of the pedal stroke.
Moving your saddle slightly forward can help open your hip angle, which is particularly beneficial for triathletes using aerobars.
An ill-fitting saddle can cause riders to tilt their pelvis backward to avoid pressure on soft tissue. This posterior pelvic tilt rounds the lumbar spine and places the hip flexors in a compressed, mechanically disadvantaged position. Testing a saddle with a central relief channel can support a neutral pelvic position and improve hip mechanics.
Introduce bike-fit changes gradually. Adjusting your saddle, cleats, or crank length redistributes mechanical loads across your lower body. Give your muscles and tendons several weeks to adapt before scheduling demanding interval sessions or high-volume rides.
Returning to full training after hip or groin pain requires an objective progression plan. Relying solely on whether you feel pain while resting can lead to premature returns and recurring injuries. You need a structured protocol based on tissue capacity and measured tolerance.
Follow this five-stage return-to-training progression:
Before beginning running or intense cycling, you should be able to walk briskly for 45 minutes, climb stairs without limping, and stand on one leg for 60 seconds without pain. Local tenderness should be stable, and you should experience no morning stiffness during daily activities.
Demonstrate adequate baseline tissue capacity in the gym. You should be able to perform 5 sets of 30-second long-lever adductor squeezes, 3 sets of 8 Copenhagen planks per side, and 20 single-leg step-downs with minimal discomfort (rated 2/10 or less). Contractions should feel strong without persistent post-exercise aching.
Reintroduce running using structured run-walk intervals on flat, predictable surfaces like a synthetic track or smooth asphalt. A good starting workout is 10 sets of 1 minute running alternating with 1 minute walking.
If your next-morning assessment is clear, progress over two to three weeks toward 30 minutes of continuous easy running.
For cyclists, start with 45 to 60 minutes of easy spinning on an indoor trainer at 90 RPM in an upright position. Avoid standing climbs, low-cadence efforts, and deep aero-bar tucks during this early phase.
Once you can complete 40 minutes of easy running or 90 minutes of steady cycling without symptoms, introduce higher mechanical loads:
Introduce only one new intensity or terrain challenge per week to clearly isolate what your tissues can comfortably tolerate.
The final stage prepares you for the specific physical demands of race day. This includes long endurance runs, hard interval workouts, brick sessions for triathletes, and training in fatigue states where pelvic control can deteriorate. An athlete is fully rehabilitated only when they can handle race-specific paces and volumes without next-morning pain flares.
Examining real-world clinical patterns can help you apply these principles to your own training.
A 38-year-old marathon runner maintained a consistent base of 45 miles per week. To prepare for an upcoming race, she added weekly 400-meter track repeats and 60-second hill sprints. Within three weeks, she developed sharp pain high in her right groin during the propulsion phase of fast running. Resisted adduction recreated her symptoms, pointing to adductor-related groin pain.
Management approach:
She completed her marathon training cycle successfully, continuing Copenhagen planks twice weekly as ongoing maintenance.
A 44-year-old triathlete lowered his bike cockpit by 25mm and moved his saddle back to achieve a more aerodynamic position. Two weeks later, he noticed a catching sensation in the front of his left hip crease while pedaling, which turned into a persistent ache during post-ride runs. Resisted hip flexion at 90 degrees reproduced his discomfort, indicating iliopsoas irritation.
Management approach:
His hip pain resolved within five weeks, allowing him to maintain power on the bike and run comfortably off it.
A 50-year-old ultra-trail runner developed deep anterior groin pain during long, technical mountain descents. The pain was accompanied by an occasional catching sensation in his hip and a significant loss of internal rotation compared to his uninjured side. Deep squats and rotational movements exacerbated his symptoms.
Management approach:
By managing training volume, improving strength, and avoiding deep hip impingement angles, he returned to ultra-distance running without requiring surgical intervention.
Endurance athletes over 40 and 50 face physiological changes that affect how tissues respond to training stress. As we age, our tendons lose water content and collagen elasticity, making them less compliant. This shift reduces a tendon's ability to store and release elastic energy efficiently, transferring more mechanical stress to surrounding muscles and joint structures.
Master athletes also experience gradual declines in muscle mass and bone mineral density. Regenerative cellular responses slow down, meaning tendons and bones require more recovery time after demanding workouts. You can find detailed resources on balancing recovery and athletic longevity in our healthy aging endurance guidance section.
Master athletes should incorporate these practical adjustments into their training:
Younger runners can often handle two hard interval sessions and a long run within a seven-day window. Athletes over 45 often perform better on a nine-to-ten-day training cycle. Spacing hard workouts with at least 72 hours of recovery allows older collagen structures to repair and adapt effectively.
Lifting heavy weights stimulates muscle protein synthesis, increases tendon stiffness, and helps maintain bone mineral density. Master endurance athletes should make room for two dedicated 30-minute strength sessions per week, focusing on multi-joint movements like squats, deadlifts, calf raises, and Copenhagen planks.
Perimenopausal and postmenopausal female athletes experience hormonal shifts that can accelerate bone density loss, raising the risk of pubic and femoral bone stress injuries. Ensuring adequate energy availability, matching carbohydrate intake to training demands, and maintaining sufficient vitamin D and calcium levels are essential for bone durability.
Athletes often fall into predictable traps when dealing with hip and groin discomfort. Avoiding these common mistakes can save months of interrupted training.
When an athlete feels tightness in the front of the hip or inner thigh, their default response is often aggressive stretching. However, a sensation of tightness is frequently a protective response from a weak or irritated muscle under high mechanical load. Stretching an irritated adductor or iliopsoas tendon compresses its attachment against the bone, which often worsens inflammation. Replace passive stretching with isometric strengthening to calm the area down.
Weak gluteal muscles are often blamed for every running injury. While abductor capacity is important for pelvic stability, the scientific literature shows that isolated abductor weakness does not explain all lower-body issues. Focusing exclusively on side-lying leg raises while ignoring adductor capacity, trunk strength, and overall training volume leaves major blind spots in your preparation.
Taking three weeks completely off training can reduce resting pain, but it also lowers tissue capacity. When you return to your previous running mileage, the detrained tendon experiences a high relative overload, restarting the injury cycle. Maintain non-provocative aerobic training and active strengthening throughout your recovery whenever possible.
MRI and X-ray scans frequently reveal structural abnormalities like labral tears, cam lesions, or mild tendon changes in completely asymptomatic athletes. Finding a structural change on a scan does not automatically mean it is the source of your current pain. Diagnostic imaging should always be interpreted alongside a thorough physical examination, a detailed training history, and your actual functional symptoms.
Preventing hip and groin injuries requires consistent monitoring of your training volume, intensity, and recovery. Tracking your physical response to mechanical load allows you to catch minor irritations before they become severe injuries.
Maintain a weekly training log that records these key variables:
Tendon rehabilitation does not always require exercising completely pain-free. A practical pain-monitoring model allows for mild discomfort during or after activity, provided it remains at or below a 3 out of 10 on a pain scale.
The most important metric is your next-morning response. Tendons are viscoelastic structures that often react hours after a workout. If you complete a run with mild discomfort (2/10), but wake up the next morning with significant pain or stiffness that alters your walking gait, the previous day's workout exceeded your current tissue tolerance.
Use this simple traffic light system to guide your daily training decisions:
Using this framework keeps your training within safe mechanical boundaries, allowing you to build durable fitness without persistent setbacks. You can access more structured protocols in our library of evidence-based endurance training resources.
Revisit this resource whenever you modify your running shoes, transition from winter base training to intense speedwork, adjust your cycling cockpit, or notice early morning stiffness along your inner thigh or hip crease.
Consistent attention to progressive tissue capacity, intelligent bike geometry, and systematic load management will keep your hips moving smoothly through every training block and race season ahead.

Follow ReEndure for practical insights on endurance training, recovery, nutrition and healthy aging. Stay connected for new articles, research led guidance and ideas to help you perform better for longer.


Read practical ideas on endurance training, recovery, nutrition and healthy aging to keep progressing for years to come.
Read the Blog